Starburst Glint

Everybody can post tutorials, tips, tricks, and request for tutorials help in this place
Post Reply
iSTiFYeTi
Posts: 69
Joined: Sun Feb 18, 2007 8:28 pm

Starburst Glint

Post by iSTiFYeTi »

First thing we need to do is create a new ****. I set my background to black to that I can see the white glint that we will prepare.

drawing modes in photoshopCreate a new layer and choose the line tool (Hidden under the rectangle shape tool in the toolbox)

Choose 2 pixels and the draw pixel option from the options bar

Image

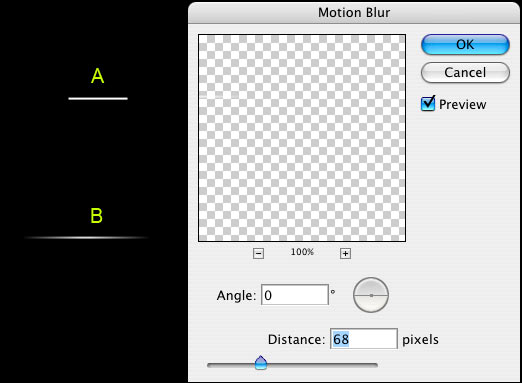
Set white as your foreground color and draw a short dash (A) Hold the Shift key to constrain the rotation to a horizontal line

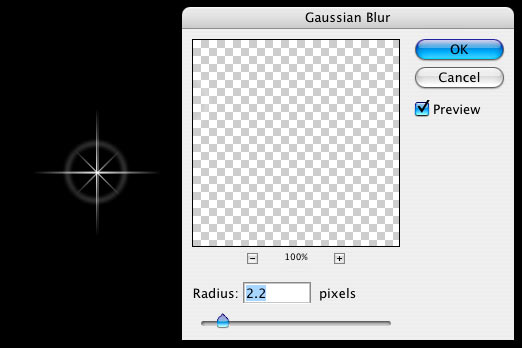
Choose Filter>Blur>Motion Blur as shown in (B). Add enough distance to get a nice tapered look. Make sure the angle matches the angle of the line.

Image

Duplicate the Layer with the dash on it

Press Ctrl (Windows) /Cmd (Mac) +T for free transform

Rotate the dash while holding down shift to constrain the rotation

Image

Choose both dash Layers and press Ctrl/Cmd+E to merge them (On version CS and earlier, choose the top layer and press Ctrl/Cmd+E to merge with the layer beneath) Careful not to merge with background

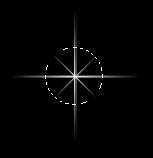
free transformDuplicate the merged dash layer (Ctrl/Cmd+J)

Press Ctrl/Cmd+T for free transform Rotate 45 deg, grab a corner point and scale toward the center to make the new star smaller (hold down alt/option+shift to scale from center and constrain)

Image


iSTiFYeTi
Posts: 69
Joined: Sun Feb 18, 2007 8:28 pm

Post by iSTiFYeTi »

You now have your starburst and you may be happy right here. For those of you who want to add a lens flare to the starburst continue...

selection in Photoshop CS3Create a new Layer

Grab the elliptical marquee tool (circular selection tool)

Create a selection over the starburst

Image

Choose Edit>Stroke

Choose a 1 pixel white stroke

Deselect

Choose Filter>Blue>Gaussian Blur to soften the effect


**** ok and we're all done!

Image

Merge the layers together to use on your illustrations and photos.

Note: You can save them as a smart object in Photoshop CS2 and CS3.

Another option is to make a custom brush: Flatten the whole thing, choose Ctrl/Cmd+I to inverse and then make a selection around the starburst. Choose Edit>Define Custom Brush.

This is just one of the effects included on my Photoshop Secrets: Special FX video.

Enjoy.

Image

Image
reece
Posts: 55
Joined: Tue Apr 04, 2006 10:59 am

Post by reece »

this makes the effect of the pictures much better

nice tutorial
m3t4l
Posts: 129
Joined: Tue Apr 03, 2007 11:28 am

Post by m3t4l »

very nice i like the porshe
Image
m3t4l.org
metal
hacking a computer near u!!!!!
Flickorian
Posts: 53
Joined: Tue Apr 24, 2007 11:01 pm

Talent.

Post by Flickorian »

That's some good work on those graphics. I will definitely have to keep this is mind when I get to working on my site design. It will make Flittr.Net really shine. Appreciate your input.
delivi
Posts: 454
Joined: Sun Mar 26, 2006 1:24 pm
Contact:

Post by delivi »

this is a nice tutorial for a coll effect, this is the first tutorial I came across for PS CS3
Post Reply